Does your heat pump in Irvine feel like it works harder than it should? Maybe one room never quite cools down on a warm afternoon, or the system runs for long stretches and the air from the vents feels only mildly cool. Maybe you hear a new noise from the outdoor unit, or you notice water near the indoor unit. These are the moments when a little regular maintenance makes the biggest difference.
A heat pump heats and cools your home with the same equipment, so it runs through the year. That year-round work means filters clog, coils collect dust, drains clog, and small wear shows up sooner than it would on a system that only runs in one season. This article explains what you can check yourself, what belongs to a professional, and how to spot trouble early, before it becomes a breakdown on the hottest or coldest day of the year.
Start With Your Manual
Every heat pump model is a little different. The filter location, the controls, the defrost behavior, and the care the manufacturer recommends can all vary. Your system manual is the best source for the specifics of your model, and it is worth reading the maintenance section before you touch anything you are unsure about.
Keep the manual where you can find it, along with the model and serial numbers for the indoor and outdoor units. Photograph the nameplate on each unit and keep the photos with the manual. When you call a technician, those numbers help them bring the right parts and give you accurate advice.
If a step in the manual tells you to call a professional, follow that advice. Some jobs look simple but involve refrigerant, high-voltage wiring, or a coil that is easy to damage. Knowing where your own checks end and a technician's work begins is part of good maintenance, not a gap in it.
Filters: The Check That Matters Most
A clean filter is the single most useful thing you can do for your heat pump. The filter catches dust before it reaches the indoor coil, and a clogged filter chokes airflow through the whole system. When airflow drops, rooms feel less comfortable, the system runs longer, and the indoor coil can even freeze in cooling mode.
Find the filter in your manual. It may sit in a return grille, in a slot near the indoor unit, or in a filter cabinet. Note the size printed on the edge of the old filter and buy the same size. A filter that is too small lets air slip around it. A filter that is too large will not fit, and forcing it can bend the frame.
Check the filter regularly and change it when it looks dirty, following the guidance in your manual. Homes with pets, nearby construction, or a lot of foot traffic may need more frequent changes. Write the date on the edge of the new filter with a pencil, and keep a spare on hand so a dirty filter never stays in place because you have no replacement.
Airflow, Registers, and the Thermostat
Take a walk through the house with the system running and hold a hand near each register. The air should come out at a steady strength. If one register is barely moving air while the rest are strong, a damper may be shut, a register may be blocked, or a duct may have a problem. Keep furniture, curtains, and rugs away from registers and return grilles, and leave dampers open in the rooms you use day to day.
Check the thermostat settings too. Make sure it is set to the mode you want, heating or cooling, and that the temperature setting is what you expect. If the thermostat runs on batteries, change them on the schedule in its manual. If the display is blank, check the batteries and the breaker before you call for help, and note what you find.
Pay attention to how the system cycles. A system that turns on and off in quick bursts, or one that runs without stopping and still leaves rooms uncomfortable, is worth a call to a technician. Note when the problem happens, which rooms are affected, and whether it happens in heating, cooling, or both. Specific details help a technician find the cause faster than a general complaint.
Keeping the Outdoor Unit Clear
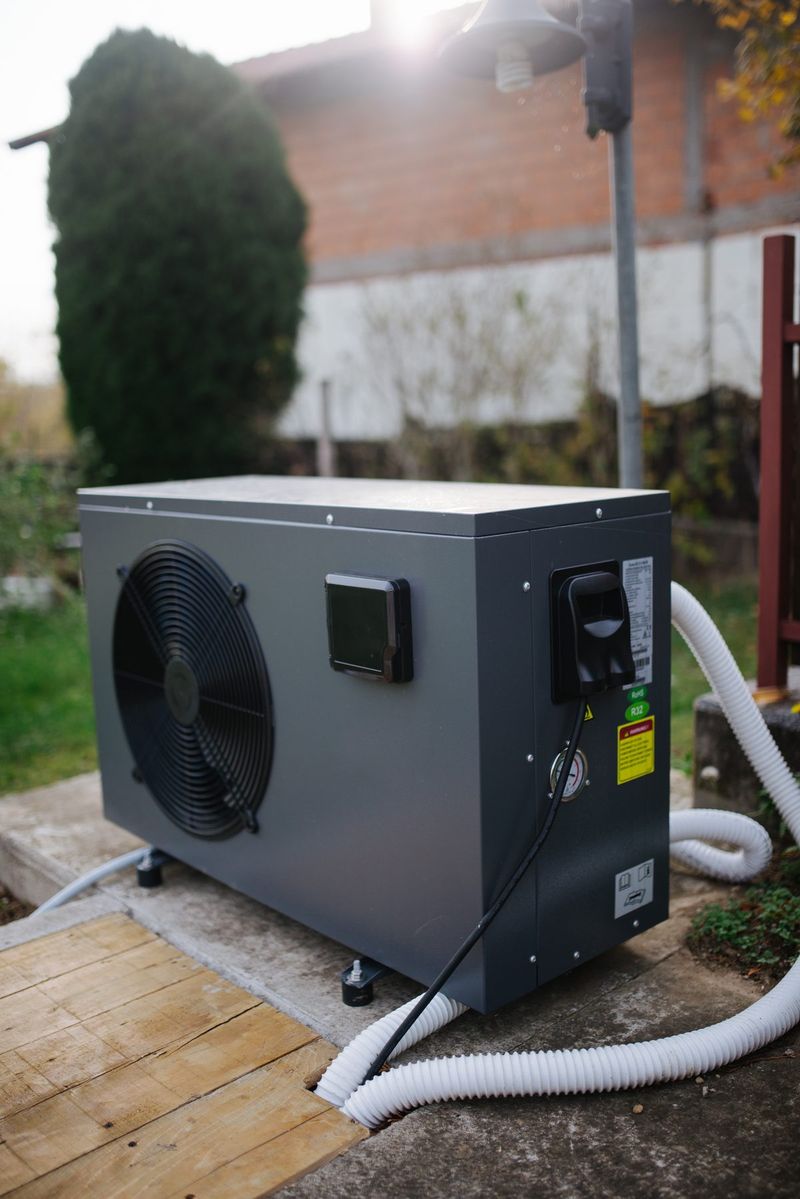
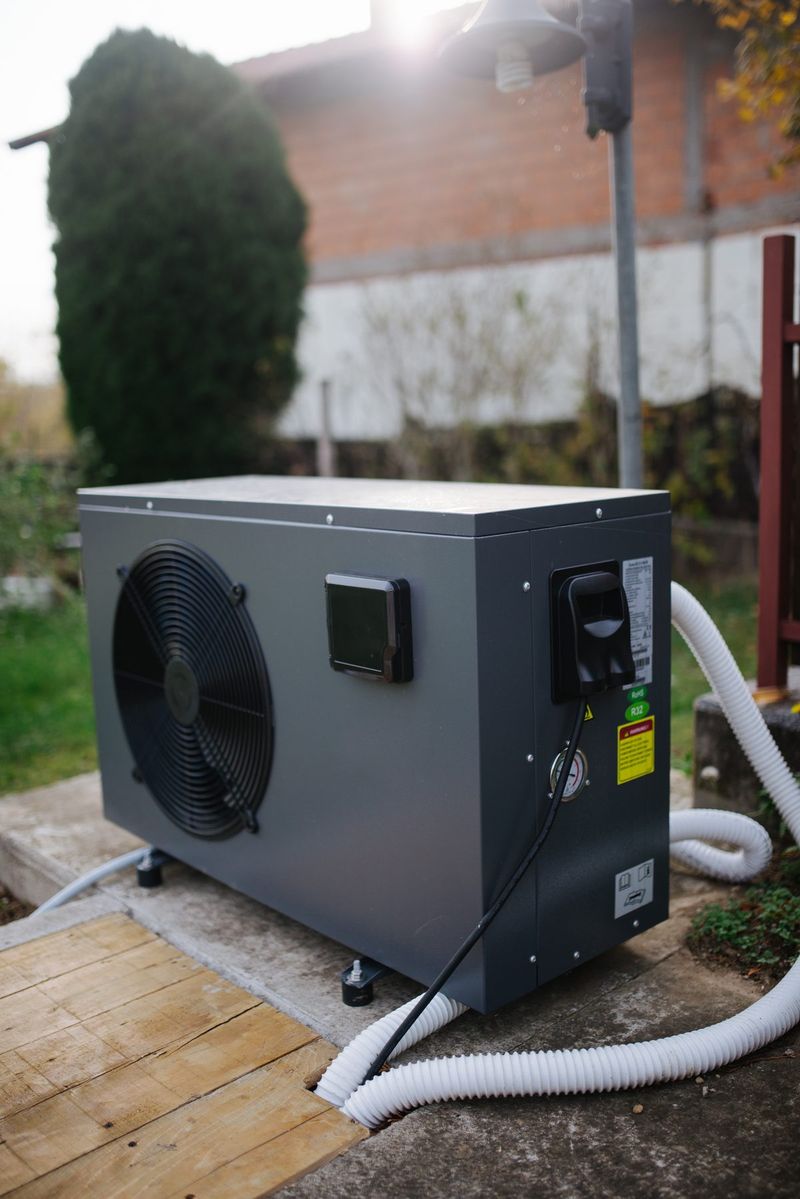
The outdoor unit needs air around it to move heat in and out of your home. Leaves, grass clippings, and stored items can block airflow and make the unit work harder. Keep the area around the unit clear, with space on all sides, and trim back shrubs and grass so they do not press against it. Keep the top of the unit clear of leaves and debris.
After a storm, check the unit for branches, leaves, or standing water. Clear debris away gently, and look for bent fins or a loose panel. If the unit was hit by falling debris or was under water, do not turn it on until a technician has looked at it.
You can clear debris from around the unit yourself, and, if your manual allows it, you can gently rinse the outside of the coil with a garden hose. Do not open the panels of the outdoor unit, do not hose down the inside, and do not use a pressure washer, which can bend the thin fins. If you are unsure, leave coil cleaning to a professional.
What a Professional Should Handle
Refrigerant work belongs to a trained technician. If the system is low on refrigerant, there is a reason, and a technician needs to find it. Adding refrigerant without finding the leak is a short-term fix that can lead to a bigger repair later. A technician can also check the refrigerant charge and the pressures, and can tell you whether the readings look normal for your model.
Leave electrical work to the technician. During a visit they can look over wiring connections, capacitors, contactors, and the defrost control, and they can catch a part that is wearing out before it stops the system. Never open the electrical cover on the outdoor unit or handle wiring inside the indoor unit yourself. If you smell burning or hear a sharp electrical buzz, switch the system off at the thermostat and the breaker and call for help.
Coil cleaning, duct checks, and clearing the drain are jobs for a professional in most homes. The indoor coil is tucked into a tight space and bends easily, and the drain can fill with algae and overflow into the house. A technician can clean the coil, flush the drain, measure the airflow, and leave you a written note of what was inspected and what was done. File that note with your other paperwork, because it starts a service history for your system.
Warning Signs That Mean Call Soon
Some signs mean you should call a technician soon, not wait for the next regular visit. Air from the vents that is barely cool in cooling mode or barely warm in heating mode, a system that short-cycles, or a system that runs without stopping and still leaves rooms uncomfortable all deserve a call.
Ice is another warning sign. Some frost on the outdoor coil during a defrost cycle is normal in cold weather, but a thick sheet of ice that does not clear, or ice on the refrigerant lines inside, should be checked. Do not chip ice off the unit with a tool, because you can damage the coil or the fan. Turn the system off or to emergency heat if your thermostat and manual explain that setting, and call for help.
Watch for water in places it does not belong. A small pool beside the indoor unit, a damp mark on the ceiling underneath it, or a drain that will not clear can mean a blocked drain or a damaged pan. Switch the system off if water is collecting, then call a technician and tell them when the water first showed up and whether it appears while heating, while cooling, or in both modes.
A Simple Seasonal Routine
Before the cooling season, change the filter, clear leaves and debris from around the outdoor unit, and check that registers are open and unblocked. Turn the system to cooling on a mild day and check that each room cools evenly. A mild-day test is better than discovering a problem on the first hot afternoon of the year.
Before the heating season, do the same checks with heating in mind. Change the filter, clear the area around the outdoor unit, and make sure the thermostat is set for heating. Walk through the house and check that registers are open. If your manual describes a heating check you can do yourself, follow it step by step, and call a technician if anything looks or sounds wrong.
Through the year, check the filter on a regular rhythm that fits your home, and check the outdoor unit after storms and at the change of seasons. Where winters are cold, keep snow and ice from burying the outdoor unit, and clear snow away gently without hitting the fins or the fan. Small, regular checks like these catch most problems while they are still small.
Questions Worth Asking a Technician
Use the technician visit as a chance to learn about your own system. Ask what they inspected, what they found, and what you should keep an eye on next. Check whether the filter size and type you have been buying suit the unit, and how often the filter needs a look in a home like yours. Ask about clearance around the outdoor unit too, and whether any plants or stored items ought to be moved back.
Bring up the defrost cycle while the technician is there. Ask how it should behave on your model when the weather turns cold, so you can tell ordinary frost from a fault. Also ask what steps to take if the system stops heating or cooling altogether, and which number to call outside normal hours.
Ask for a written record of each visit: what was checked, what was cleaned or adjusted, and what was recommended. That record helps the next technician see what has already been done, and it helps you see patterns over time, such as a drain that clogs every year or a part that wears out sooner than expected. A heat pump that gets regular attention, a clean filter, a clear outdoor unit, and a prompt call when something changes will serve your home far better than one that is only noticed when it stops working.
Related Guides