What should you know before an air conditioner installation begins at your home? A good installation shapes how the system cools, how long it lasts, and how often it needs service. The equipment matters, but the way it is sized, placed, connected, and tested matters just as much. Knowing the steps in advance helps you ask clear questions, spot missing work, and avoid surprises on the day of the job.
Installation is not a single task. It includes choosing the right size, placing the indoor and outdoor units, running refrigerant lines and wiring, connecting ductwork and drains, and testing the finished system. Each step has a purpose, and a shortcut at any step can show up later as uneven cooling, noise, water damage, or a shorter equipment life.
Before the Crew Arrives
Good preparation starts before installation day. Clear the area around the indoor unit, the outdoor unit location, and the paths the crew will use. Move furniture, stored items, and fragile objects away from the work areas. Make sure the crew can reach the electrical panel, the attic or crawl space if ductwork is involved, and the outside wall where lines will pass through.
Talk through the plan with the installer before work starts. Confirm the model and size, the placement of the indoor and outdoor units, the thermostat location, and the scope of ductwork, electrical work, and drain work. Confirm what will happen to the old equipment if you are replacing a system, and where the crew will put tools and materials. A short walkthrough on the morning of the job can prevent a misunderstanding that is hard to fix after the lines are run.
Check the written quote again at this stage. It should name the equipment, the size, the efficiency rating, the thermostat, the ductwork and line work, the electrical work, the drain, the removal of old equipment, and the warranty terms. If anything you discussed is missing from the writing, raise it before the crew starts, not after they finish.
Sizing and Placement
Sizing should be based on a load calculation for your home, not on the size of the old unit or on floor area alone. The calculation should consider floor area, ceiling height, insulation, windows and their direction, air leakage, and local climate. An oversized system can cool quickly and shut off before removing enough moisture, while an undersized system may run for long hours without reaching the thermostat setting.
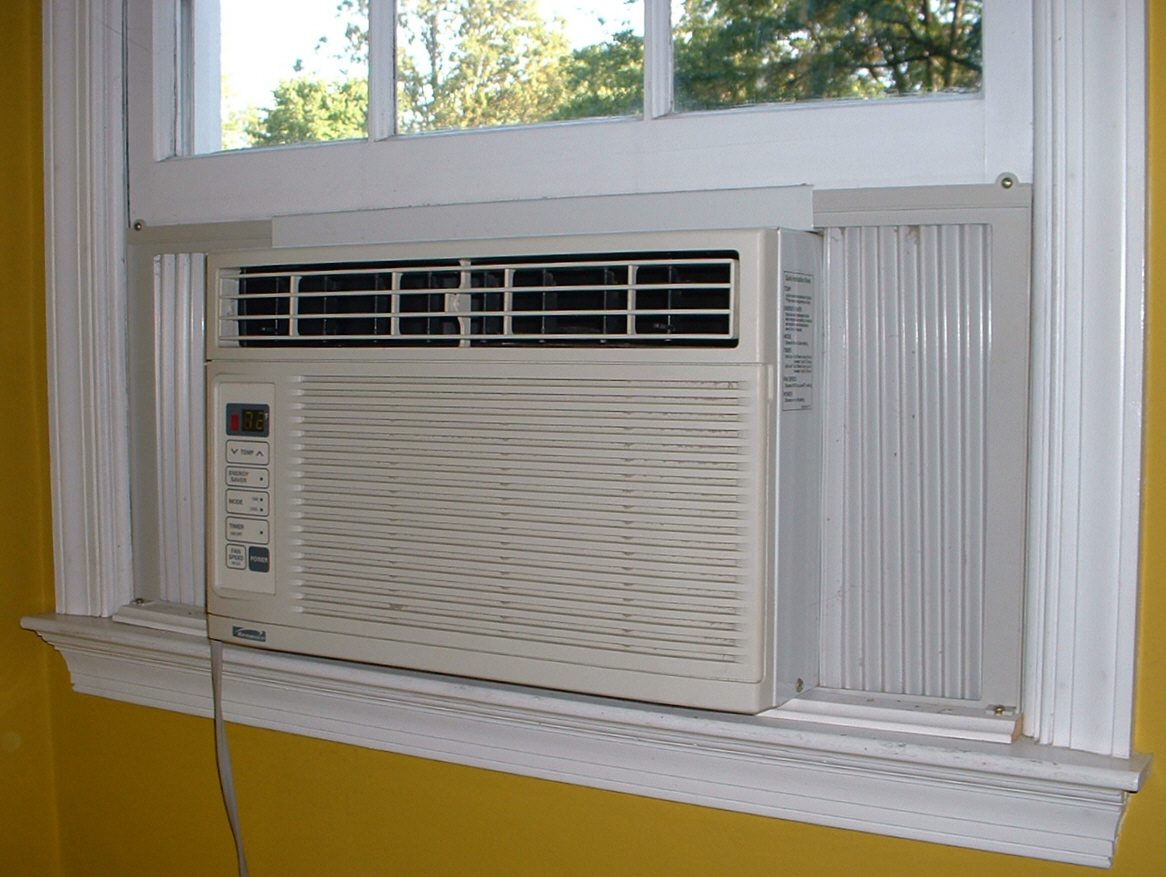
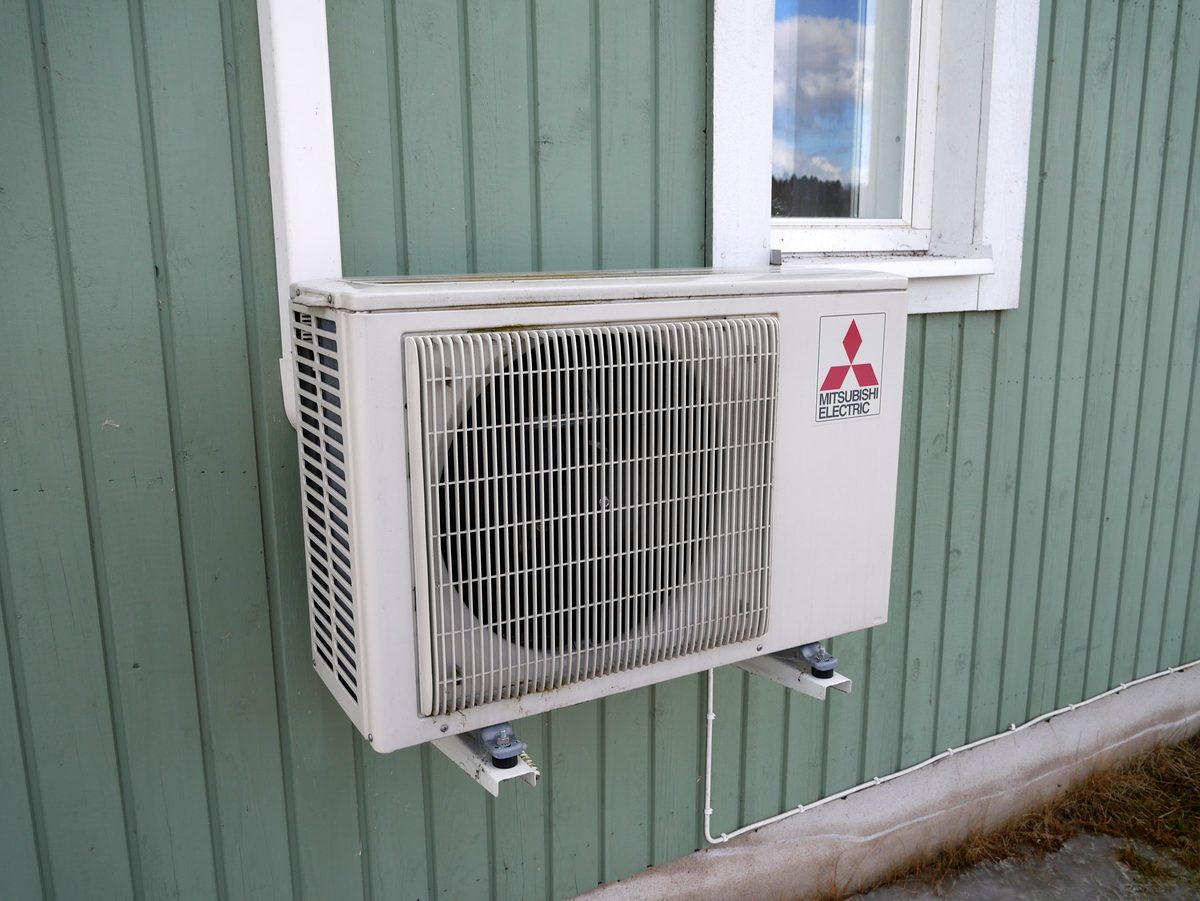
Placement affects comfort and service. The outdoor unit needs clear airflow on all sides and should sit on a level pad or mounting, away from bedroom windows and patios where noise will be noticed. It should not sit where roof runoff or yard water will pool around it. The indoor unit needs clear airflow and service access, with a filter that you can reach easily for regular changes.
Thermostat placement deserves the same care. It should sit on an interior wall in a room you use often, away from direct sun, drafts, lamps, and heat sources. A thermostat that reads the wrong temperature will make the whole system follow that wrong reading, so the location is part of the installation, not an afterthought.
Refrigerant Lines, Wiring, and Drains
The indoor and outdoor units are connected by refrigerant lines, electrical wiring, and a drain line. The refrigerant lines carry the fluid that moves heat between the units. They should be the correct size for the system, insulated where needed, supported along their run, and protected where they pass through walls. Kinks, sharp bends, and poor insulation can reduce cooling and make the system work harder.
Electrical work must match the system needs and local code. That includes the circuit, the wiring, the disconnect near the outdoor unit, and the connections inside the unit. This is not a place for guesswork. If the electrical panel needs work, that work should be named in the quote and done by a qualified person.
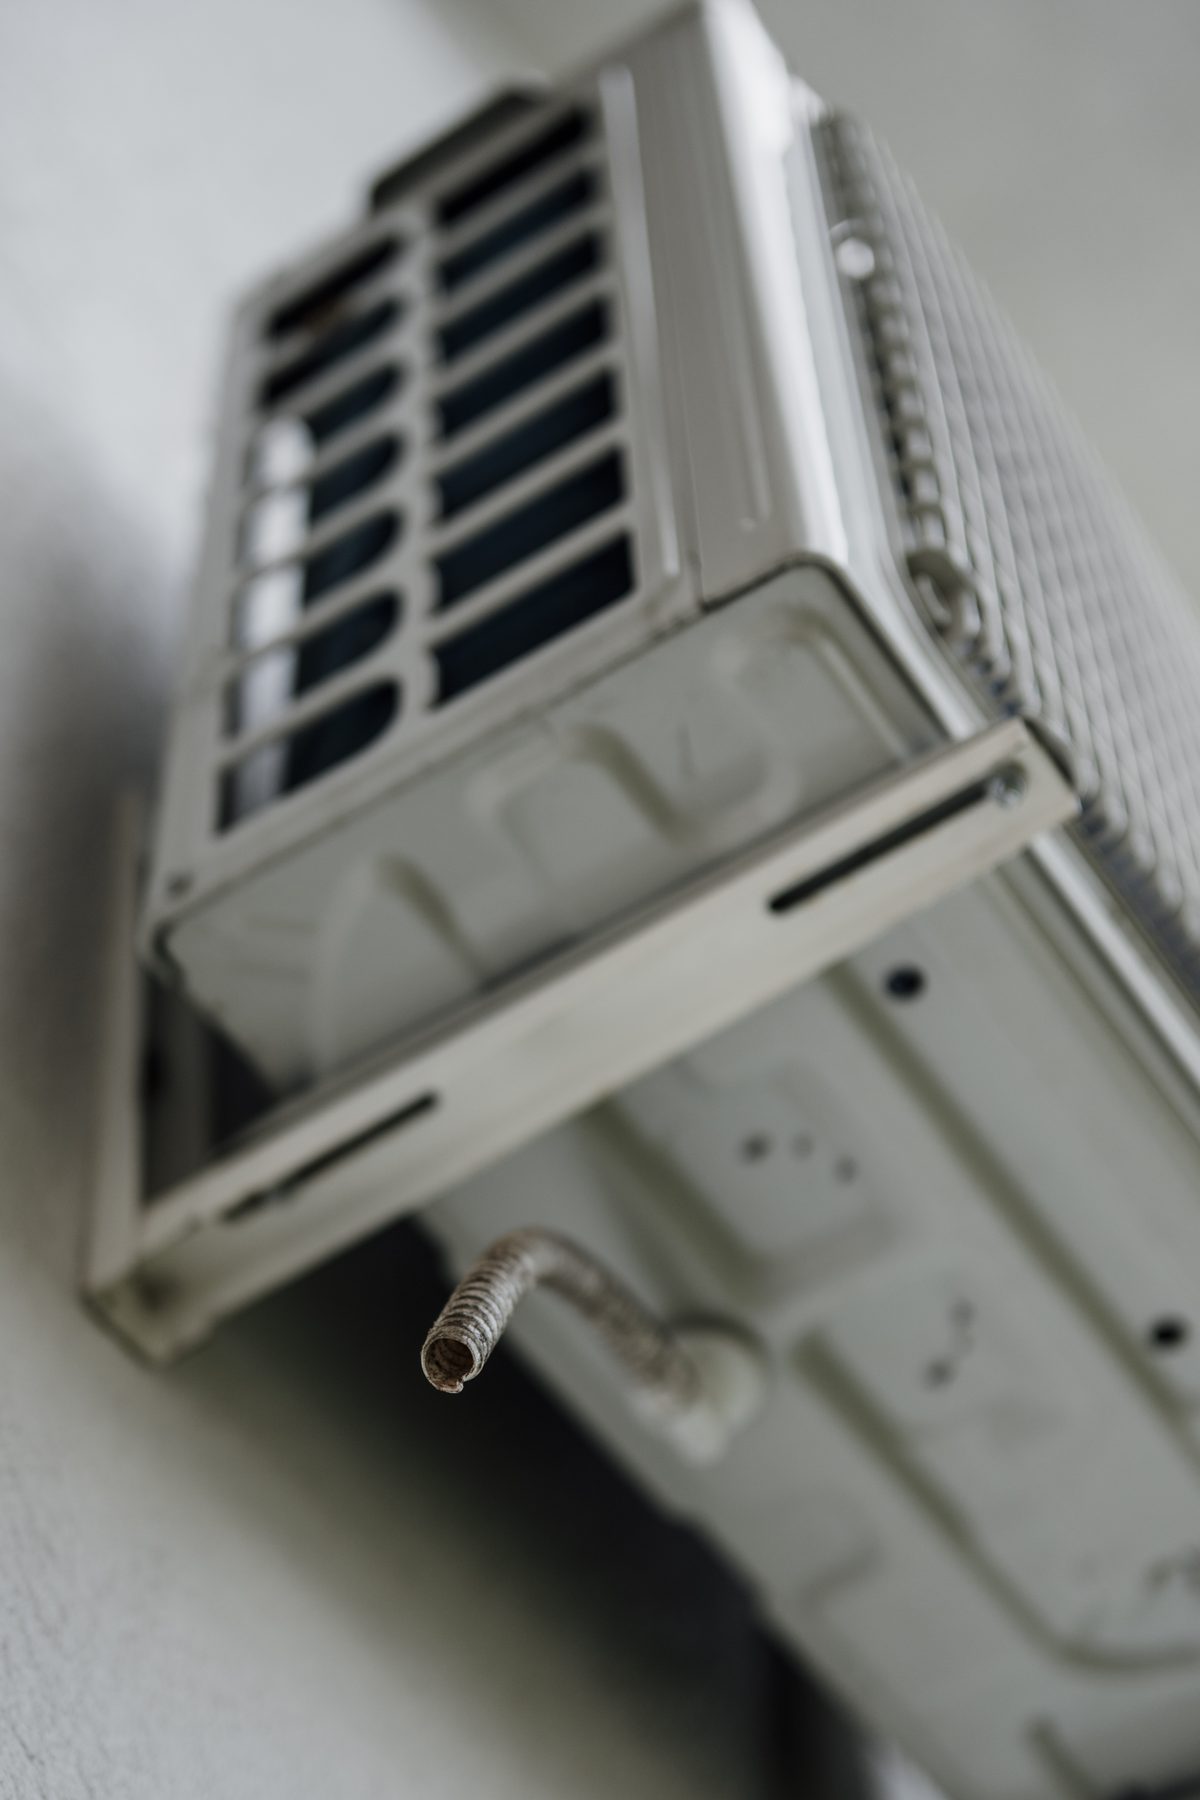
The condensate drain carries water away from the indoor coil. The drain line should slope so water flows away from the unit, with a trap and a clear path to a drain or to the outside. A drain that is flat, kinked, or blocked can cause water to back up and damage ceilings, walls, or floors. Ask where the drain will go and how you can check it later.
Ductwork and Airflow
If the installation uses existing ductwork, the crew should check it before they connect the new system. Leaks, crushed sections, sagging flexible ducts, and poor insulation can waste cooled air and leave rooms uneven. Sealing leaks and fixing damaged sections is part of a sound installation, not an optional extra to be discovered after the first hot week.
Airflow must be set for the system and the home. The blower speed, the filter type, and the duct layout all affect how much air reaches each room. After installation, the crew should check airflow at the vents and confirm that each room gets a fair share of air. If a room was warm with the old system, tell the crew before they start, so they can look at the duct run to that room while they are already on site.
What Happens on Installation Day
A typical installation follows a clear order. The crew protects floors and work areas, removes the old equipment if there is any, and sets the new indoor and outdoor units in place. They run the refrigerant lines, wiring, and drain, connect the ductwork, and install the thermostat. They then charge the system with refrigerant, check for leaks, and start the system for testing.
Testing is the step that separates a finished job from a job that is only assembled. The crew should check the refrigerant charge, the temperature of the air at the supply vents and at the return, the airflow, the electrical readings, and the drain. They should run the system through a full cooling cycle and listen for unusual noise or vibration. They should also walk you through the thermostat, the filter location, and the basic care you will do yourself.
Expect some dust and noise during the work, and plan for the cooling to be off for part of the day. Ask how long the job should take and what will happen if the crew finds an unexpected problem, such as damaged ductwork or an electrical issue. A clear plan for surprises is better than a rushed fix made on the spot.
Questions to Ask Your Installer
Ask how the size was calculated and what factors were included. Ask where the outdoor unit will sit and how noise and drainage were considered. Ask what ductwork will be sealed or repaired, and how airflow will be checked. Ask how the refrigerant charge will be set and tested. Ask what warranty covers parts and what warranty covers labor, and who to call if a problem appears in the first weeks.
Ask for the model numbers in writing and for the manuals and warranty papers at the end of the job. Ask the crew to show you the filter, the drain access, the outdoor disconnect, and the thermostat controls before they leave. A crew that welcomes these questions is showing you the work, not hiding it.
After the Installation
After the crew leaves, live with the system for a few days and note how it behaves. Check each room for even cooling, listen for new noises, and watch for water where it should not be. Note how long the system runs on a hot afternoon and whether the thermostat setting feels right in the rooms you use most. If a room stays warm or the system cycles in a new pattern, call the installer while the work is still fresh, rather than waiting for the problem to become a habit.
Keep the paperwork in one place: the quote, the model numbers, the warranty terms, and the service contact. Change the filter on schedule from the start, keep the outdoor unit clear, and arrange a service visit before the next cooling season. A careful installation gives you a strong start, and steady care after that protects the work that was done on installation day.
Related Guides